I've always been a big fan of backless shirts and dresses, probably because I've never been able to wear them. Well probably not never, but certainly not since the age of about 13. Sadly, having your entire bra hanging out of the back of your backless shirt somewhat destroys the look.
Gabi from Gabifresh kind of inspired me, she is a plus size model and she always says that if she really wants to wear something, she will find a way to make it work for her. I think that's great, and also really true. You can't do something the way someone else would do it, you have to do it the way that you would do it.
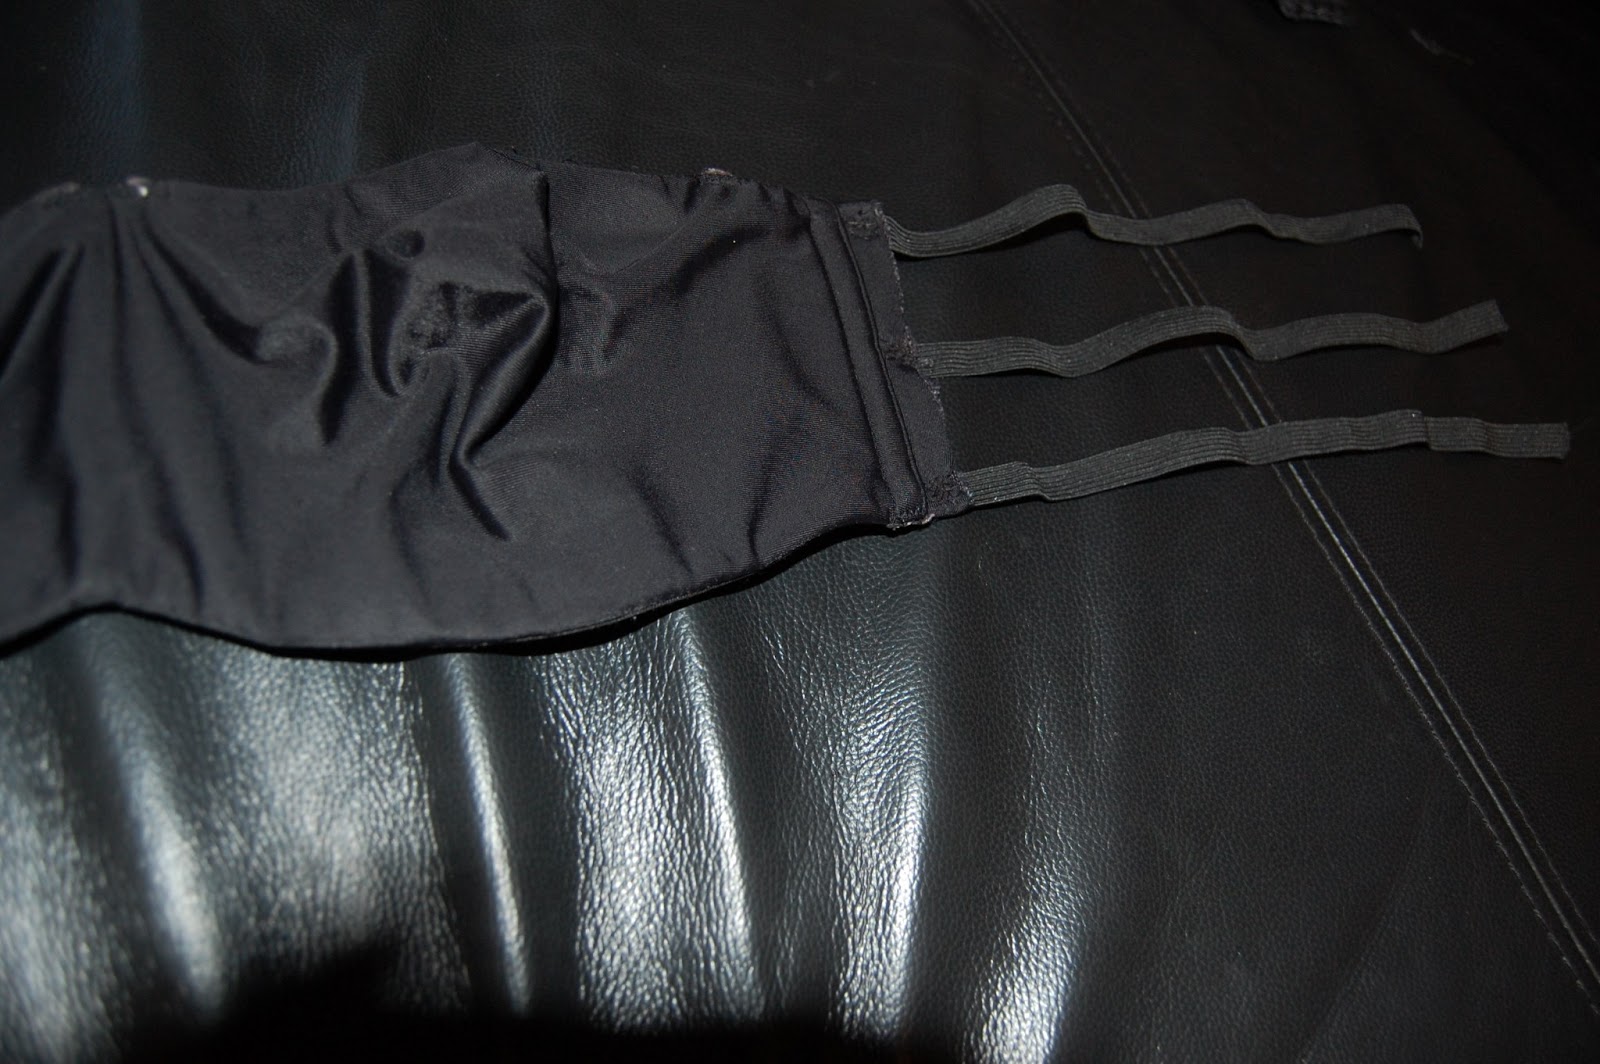
So this is how I would wear a backless dress. I got some pretty heavy duty elastic from Michael's, and my favourite bra. I cut off the back of the bra, leaving about an inch on each side of the cup to attach the elastic to, and sewed on 3 strips of the elastic on one side.
Then I awkwardly put it on/ figured out the delicate balance between having it stay up, and having it cut off all circulation. Once I decided on that, I sewed on the elastic to the other side at the right tightness, and voila.
It takes a bit of wiggling to get into it, but it's actually really comfortable, and I think it's pretty cute. I may not be able to go completely backless, but I figured out a way to wear what I wanted, and make it work for me.
Showing posts with label DIY. Show all posts
Tuesday, August 20, 2013
Friday, May 10, 2013
pocket full of gold
A few months ago, I saw a pair of sequin pocket shorts on Pinterest and decided I wanted a pair. Instead of buying some and saving myself hours and hours and possibly a hunchback in later years, I decided to make them myself.
I can not express to you how many hours this took, or how many times I pricked my finger, swore like a sailor and threw the stupid pocket across the room, but after almost 2 months (not constantly) of working on these, I finally finished them.
I really like them, thankfully, as I would force myself to wear them either way after all of the blood, sweat and tears that went into their making.
| Before |
| Essential tools |
| we will be finding sequins scattered around our house for all of the foreseeable future |
| so close, but yet so far |
| i thought this day would never come |
Monday, March 11, 2013
cobalt
I fell in love with all of the colours in Mexico over Christmas, and have spent not an insignificant amount of time since then trying to incorporate this beautiful blue colour into my every day life.
| Before |
| $1.25 per clay pot |
| $2.99 for a sample sized paint from Home Depot |
| Yes, I still have blue paint on my arm |
| Done |
| Add some pot hanging hooks |
| and some herbs (oregano, basil, rosemary) |
| and get ready to feel guilty that you don't cook more. |
Tuesday, March 5, 2013
mixing it up
I've wanted a stand mixer for as long as I can remember. A bright red one, to be exact. I don't know why exactly, or when precisely I started to covet this particular item, but it was very early on.
I don't really know what a 5 year old would do with a standing kitchen mixer, especially because A) I wasn't tall enough to reach the counter yet, and B) I didn't have my own kitchen to put one in, but I did. To me, it was the gleaming symbol of adulthood and happiness. Apparently marketing does work.
I never got one for myself though because I do love baking, but not enough to sell my first born child to actually purchase one of these, as they are pretty expensive. But a few years ago Derek brought this one home for me from work, since they didn't need it anymore.
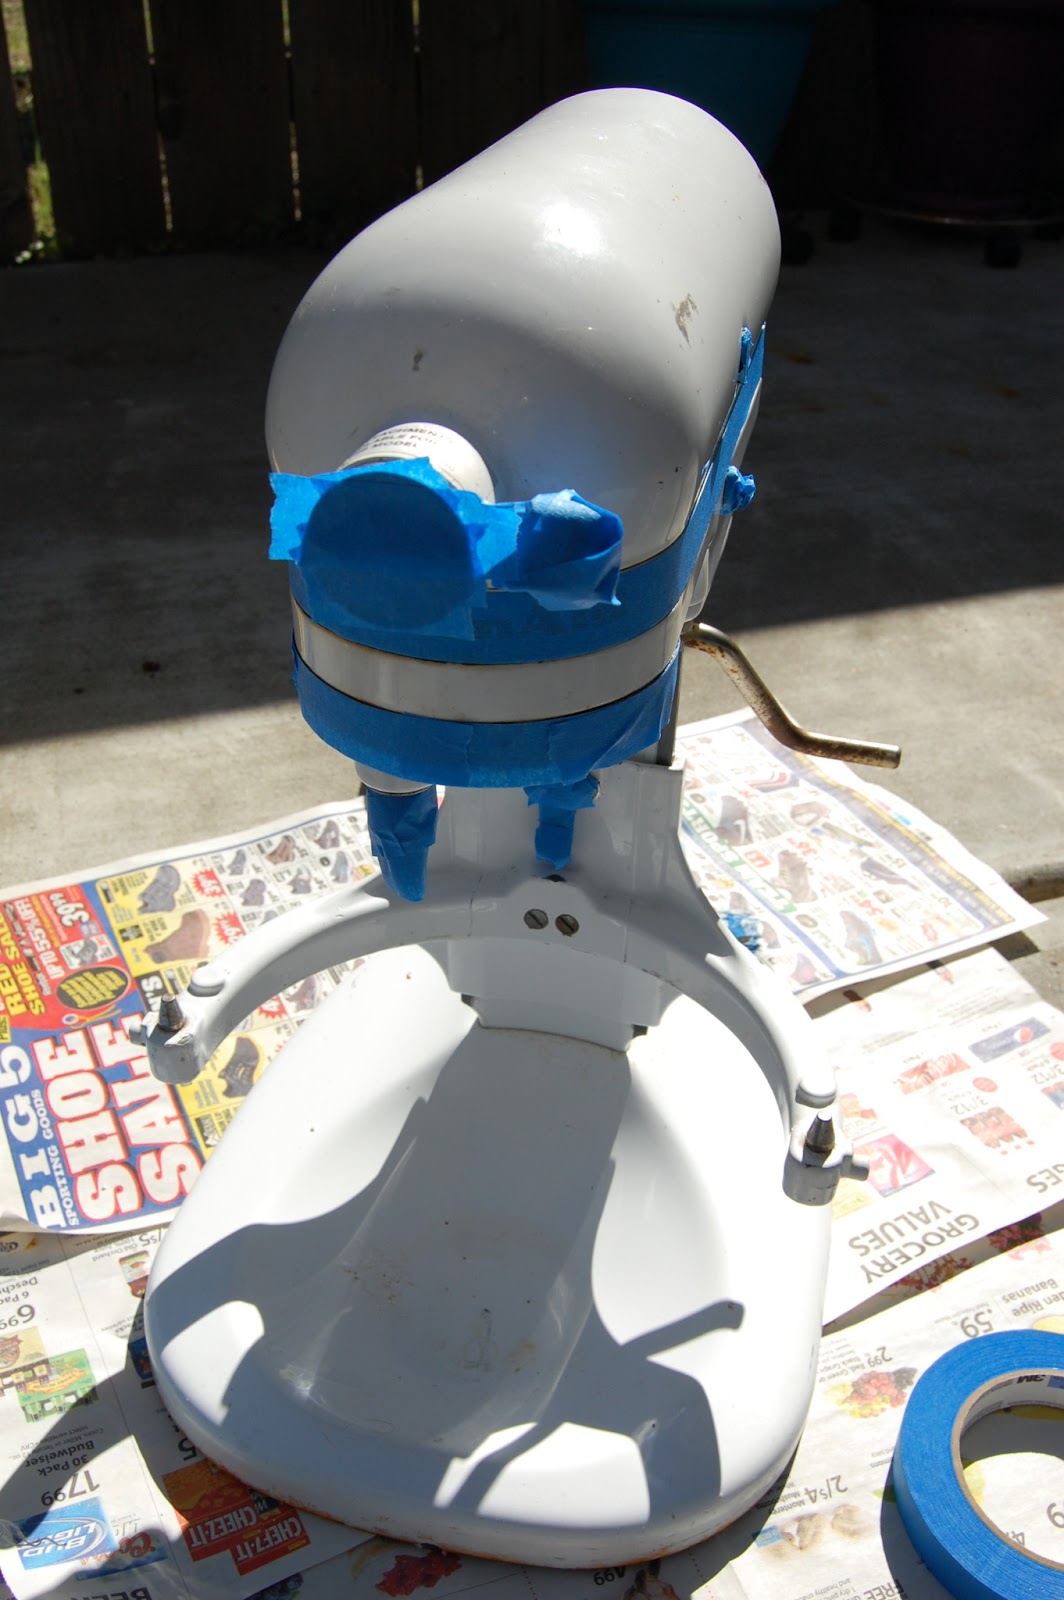
It was a little beat up, but still worked fine. Recently, I decided to give it a makeover and turn it into the gleaming, candy apple red appliance of my dreams.
There are still a few dinged up spots on the silver, but it looks 400% better, and it makes me happy every time I go into the kitchen, and you can't put a price on that.
Or if you could put a price on it, it might be a $6.00 can of paint thinner and 3 hours of elbow grease so I can scrub the red spray paint off of our back patio before Derek murders me. But either way.
I don't really know what a 5 year old would do with a standing kitchen mixer, especially because A) I wasn't tall enough to reach the counter yet, and B) I didn't have my own kitchen to put one in, but I did. To me, it was the gleaming symbol of adulthood and happiness. Apparently marketing does work.
I never got one for myself though because I do love baking, but not enough to sell my first born child to actually purchase one of these, as they are pretty expensive. But a few years ago Derek brought this one home for me from work, since they didn't need it anymore.
It was a little beat up, but still worked fine. Recently, I decided to give it a makeover and turn it into the gleaming, candy apple red appliance of my dreams.
| Before |
| Supplies: Tape, Rust Reformer, Red and Silver Spray Paint |
| Tape off the areas you don't want to be painted |
| Spray Rust Reformer over the whole thing |
| Add two coats of lovely red |
| Spray the handle silver |
| Remove the tape |
| Bask in eternal joy |
Or if you could put a price on it, it might be a $6.00 can of paint thinner and 3 hours of elbow grease so I can scrub the red spray paint off of our back patio before Derek murders me. But either way.
Tuesday, February 26, 2013
get dirty
Last weekend it was so gorgeous outside that I didn't want to spend a single second indoors, so I loaded up on plants and spent most of my time playing in the dirt.
I spend so much of my time inside lately, and I love to have a place to hang out outside (read: tan and drink margaritas) so I always like to spruce up our backyard in the spring.
Aside from the constant terror of spiders (I'm not really afraid of spiders, but the ones here in California are SPIDERS. I saw a black widow once) it was very pleasant and relaxing. I even bought myself some gardening gloves.
I am pretty much a floppy hat and some Crocs away from being every grandmother in a movie, ever.
| When life hands you lemons, just say fuck the lemons and bail |
| Using all the strawberries from these two plants I can make the world's smallest strawberry shortcake |
| I love my orange tree, but I'm afraid to eat the oranges, I don't know why |
Friday, February 15, 2013
i heart confetti
This is one of my favourite little tricks, it allows you to show your loved ones how much you care, while also annoying them just enough to make them glad you don't live closer.
First, write out the greeting in your card, or if you are making you own cards, stamp them, glitter them, etc until they are ready to go.
Then take a large pile of confetti or glitter (confetti is nicer because it's bigger and easier to clean up) and insert it into a folded piece of paper. I used heart doilies because I am festive like that.
Carefully insert the folded paper into the card, facing up, and close the card. Insert it into the envelope folded side first, and send it off to your chosen target.
When they pull the card out of the envelope and open it, the paper with the confetti (or glitter, depending on how much you love/hate that person) will fall and scatter, leaving them with a big, sparkly mess which they will clean up while sending positive, loving thoughts your way. Probably.
Wednesday, January 30, 2013
something up my sleeve...
I've been seeing a lot of cute sweaters with elbow patches lately, so I decided to try to make one of my own. I bought this green shirt at Forever 21 a couple of years ago, because I absolutely loved the colour, but it never really looked right on me, and I was going to get rid of it in my spring closet clean out. Instead, I used it to make some patches for my favourite black cardigan.
I used a piece of card stock to cut out a heart, and then traced it onto the fabric and cut out the shapes.
Then I put the cardigan on, and marked the center of my elbow with a pen, and sewed on the patches.
The finished product.
| Sweater, Target |
I used a piece of card stock to cut out a heart, and then traced it onto the fabric and cut out the shapes.
Then I put the cardigan on, and marked the center of my elbow with a pen, and sewed on the patches.
The finished product.
Subscribe to:
Posts (Atom)